I’m hilariously bad at keeping track of my things. Namely, my phone, my wallet, and my keys. I recently purchased some AirTags to help deal with this, but the form factor didn’t work for my wallet. Here’s how I went about slimming an AirTag down to fit better.
I’m not the first to do this, and videos from Andrew Ngai, photos from JEET3D, and the iFixit AirTag teardown proved to be very helpful.
The teardown
Graciously (for Apple), the battery is user-replaceable, so removing it and its cover is easy. Now the seam between the battery holder and the AirTag body is exposed.
On advice from the iFixit guide, I placed the AirTag in the jaws of a vice and squeezed it to widen the seam. From here, some gentle prying with a flathead screwdriver was enough to separate the two halves.
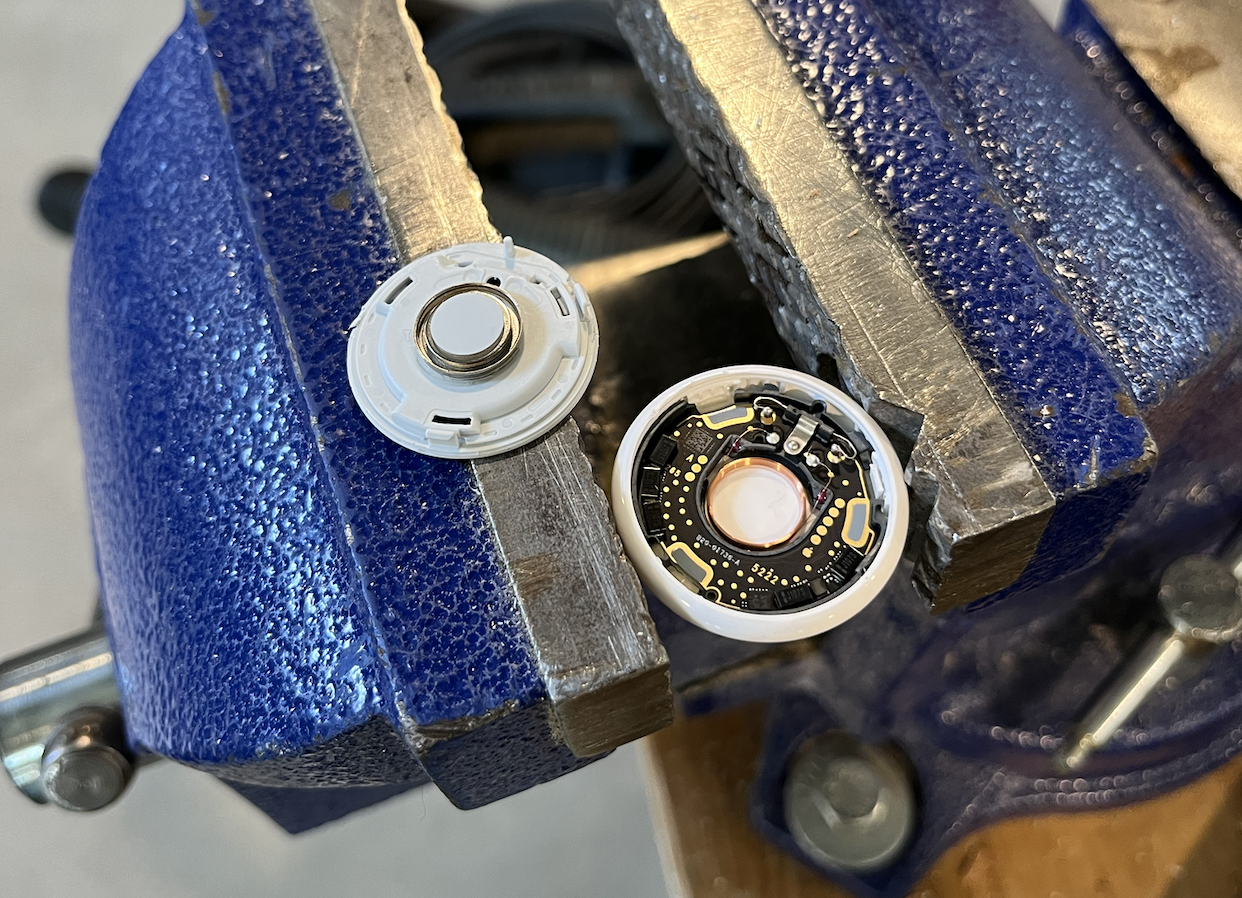
Here are the main PCB (black) and voice coil (orange ring). Looking at how fragile the voice coil was, I decided to give up on the AirTag’s speaker functionality and remove it entirely. With the amount of glue used, this took some patience. I’m hoping to come back to this project with a version-two that uses an external speaker or piezo element to bring back the beeping functionality.
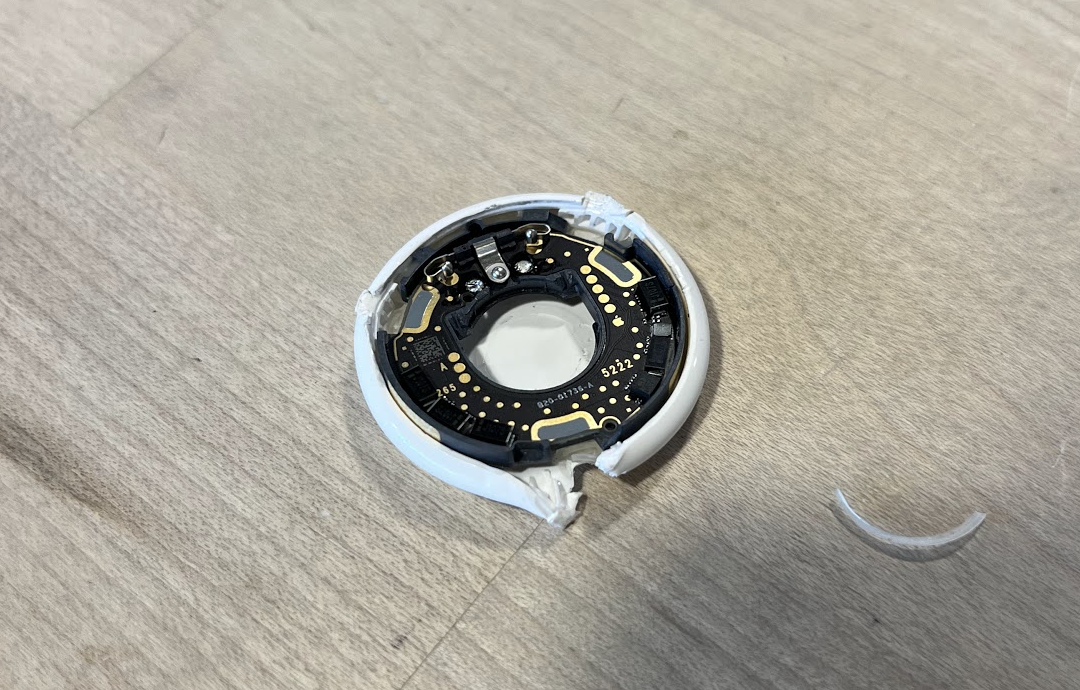
Removing the main PCB was the hardest part, and took careful prying. After heating the AirTag from below with a heat gun, I used a spudger to pry under the plastic PCB fixture. The AirTag’s UWB antenna is printed onto the underside of this fixture, so it’s important to avoid damaging it.
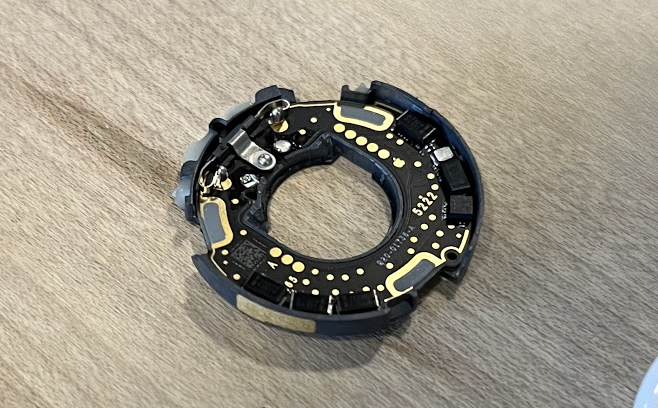
That’s it! All of the AirTag’s functionality (apart from the speaker) is on the main PCB, and it’s just 3.6 mm thick, which is promising for our slim version.
The rebuild
If the battery and main PCB are placed side by side, the AirTag could be a lot thinner, while trading off a larger footprint. Now, I just needed to reconnect the battery to the main PCB.
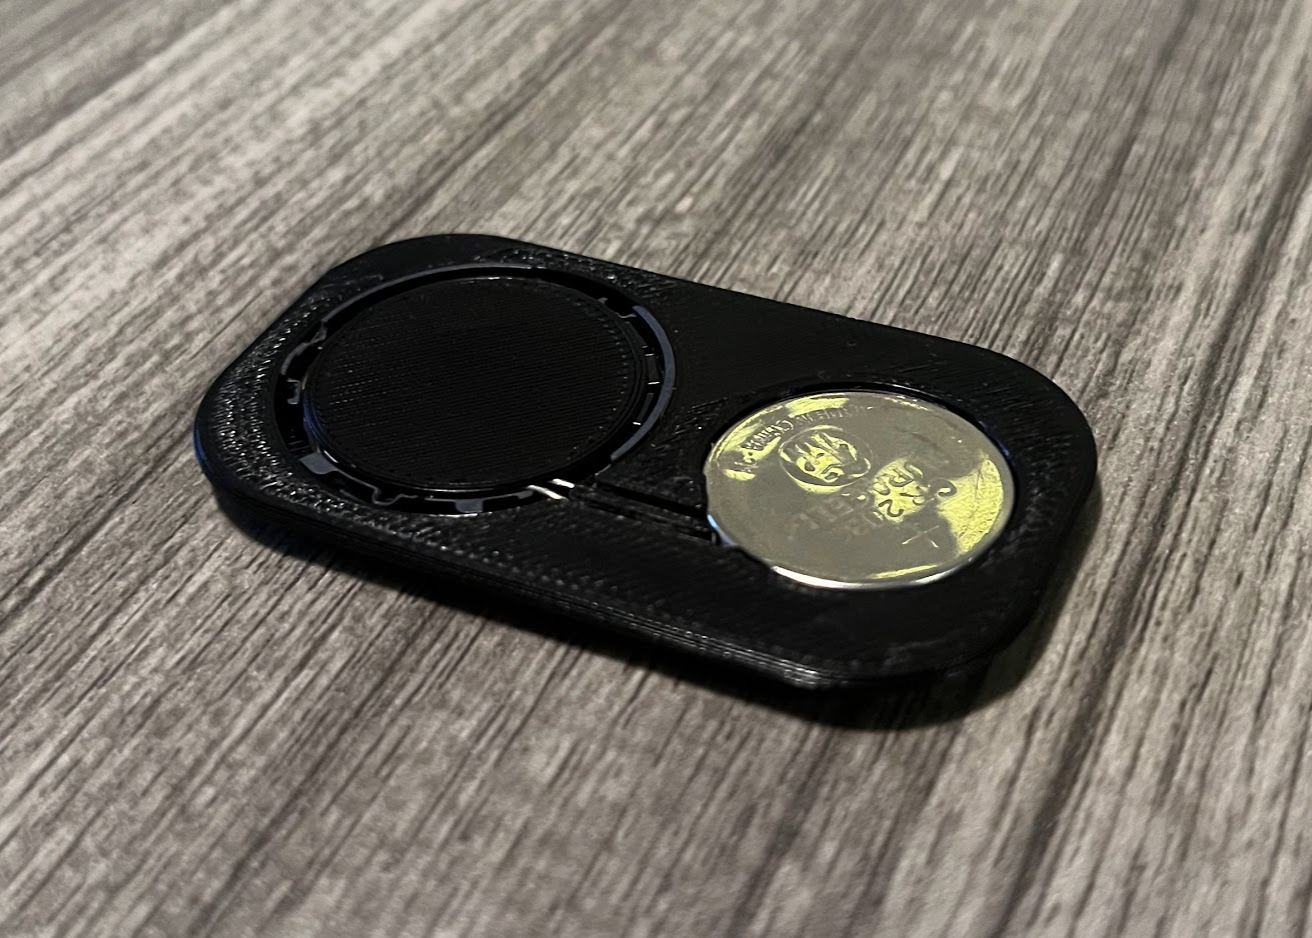
I threw together a print to act as a battery holder and mount for the main board. Some spare resistor leads act as battery contacts. They go through two grooves in the print and are soldered to the corresponding pads on the PCB. Importantly, the two positive battery terminals on the PCB are not redundant, so both must be connected to the positive terminal of the battery. Here’s what the assembly looks like mounted in the 3D-printed case.
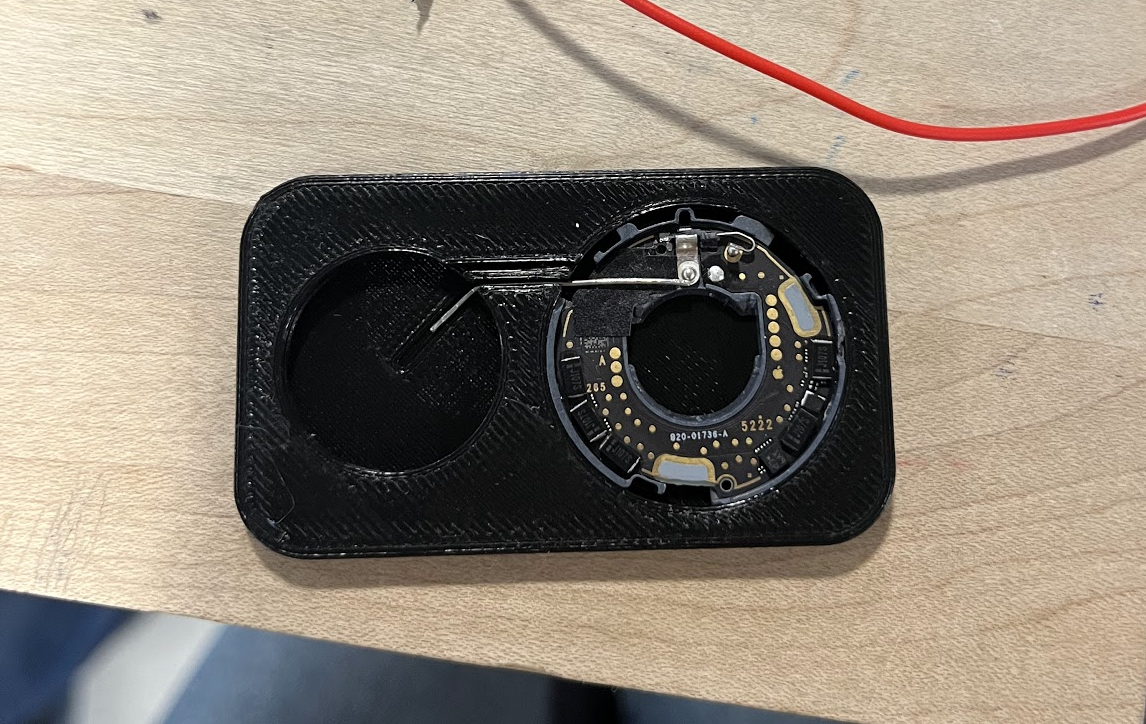
The battery is just pressed into place, making contact with the battery leads. I also designed a cover to slightly protect the PCB. It’s also pressed into place.
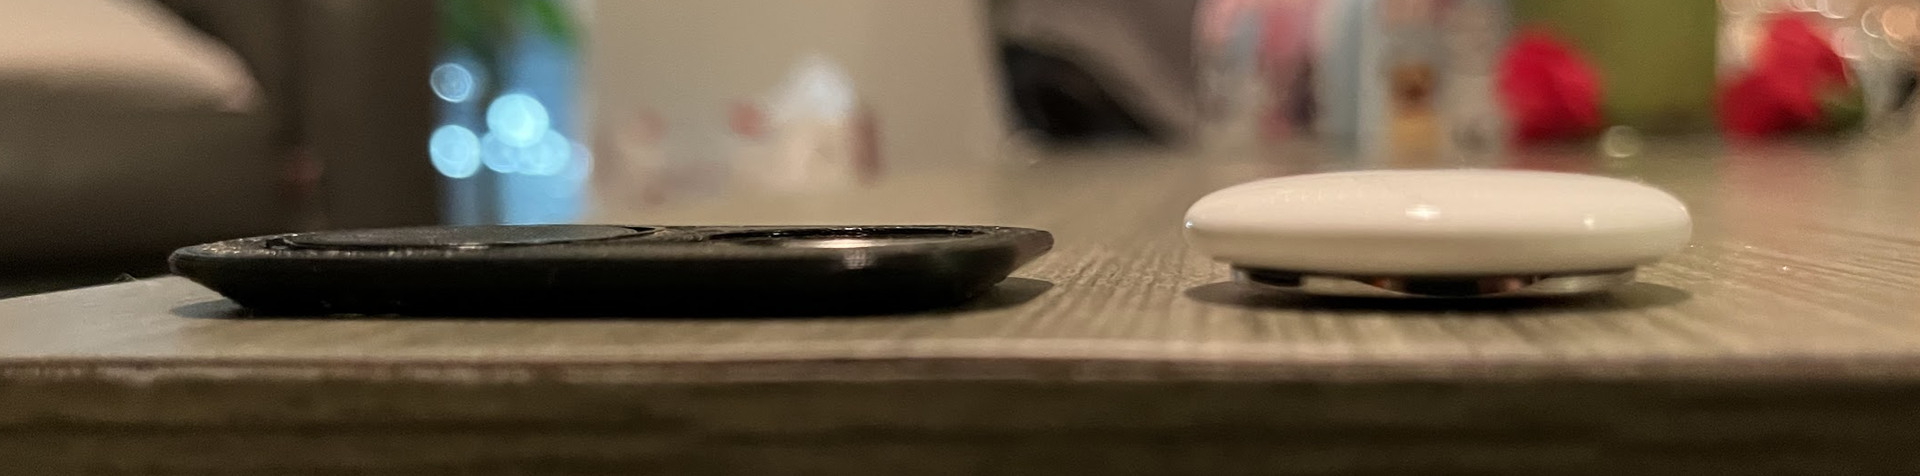
My final design is 4 mm thick, which is about half the thickness of the original AirTag at 7.9 mm. From some testing, it doesn’t seem like I’ve changed the functionality of the tag, apart from the loss of the speaker, which is something I’m hoping to come back to.